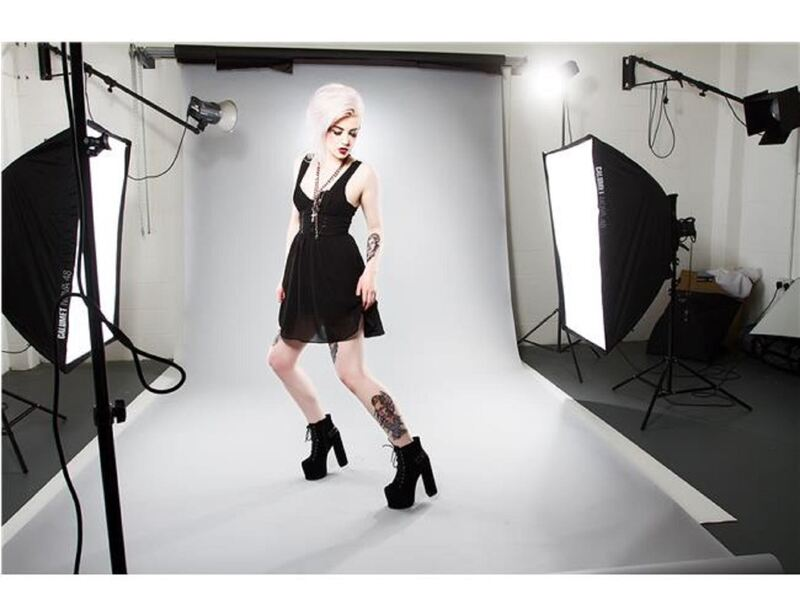
Set up lightning in the studio is one of the important factors affecting recording and photography. In addition to making the video or photo clearly see the object, light also has great significance in separating the object from the background and blending other parts into it. At the same time, light is also considered an effect that helps the image become more perfect. So how many ways are there to set up lighting for video recording? To answer this question. Please join Viewfinder Media to see the article below.
1. 3 basic types of light
Set up lighting in studio is essential when shooting. Because without good lighting, the quality of your photos and videos will decrease. From there, it makes the film or image less attractive and unattractive. So how to set up lighting? How many types of lighting are used for setup in the studio?
1.1 Key light
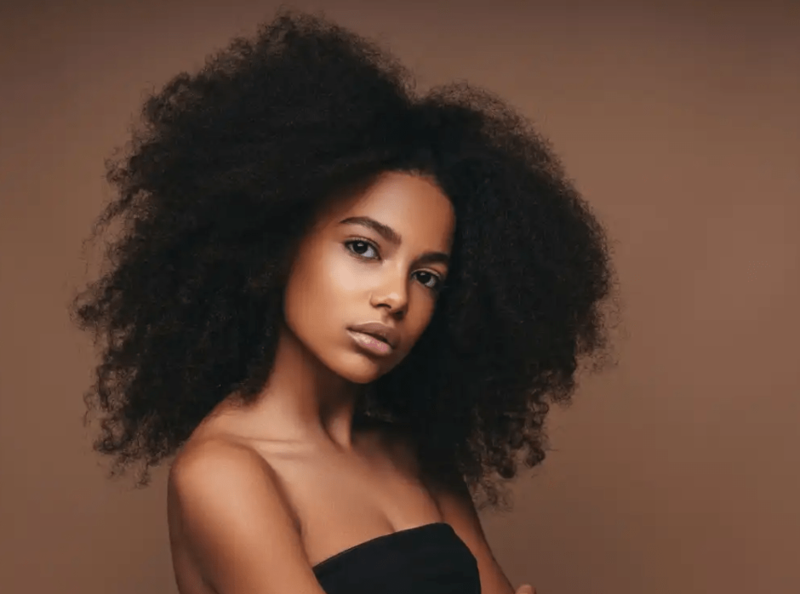
Key light is a light source that greatly affects the shooting process. It helps create just enough light to reach the lighting object clearly. Normally when setting up studio lighting, the main light source will be placed to the left of an object. In particular, you can also set this light source to rotate at an angle from 20 to 45 degrees.
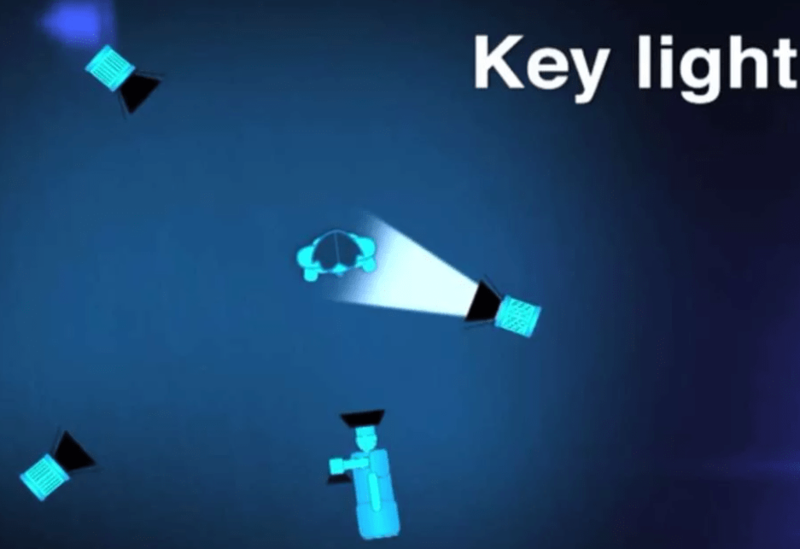
Key light light source greatly affects image quality
>>>> LEARN MORE: 12 most commonly used video transition effects
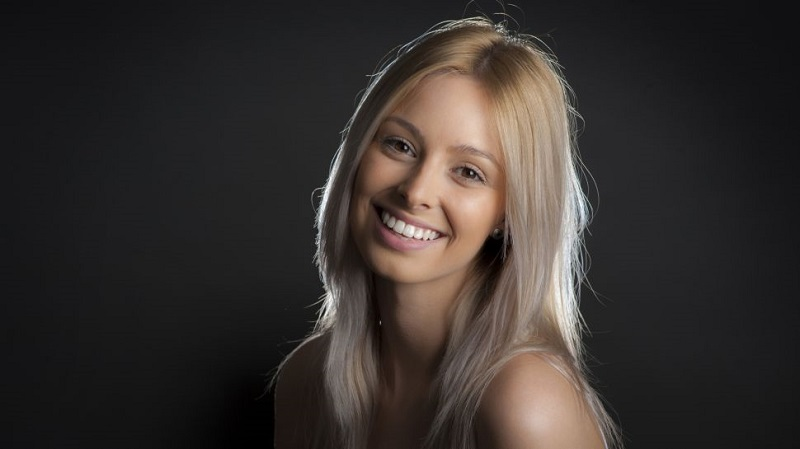
1.2 Fill light
Fill light is a type of light that reduces darkness. This helps the lens recognize the subject and focus in the best way. Besides, this light source ensures that enough object detail is seen in photos or videos. This brings great benefits in expressing the true nature of light on the subject. At the same time, it gives the object a certain depth and creates authenticity.

Fill light is a type of light that reduces darkness
On the other hand, this is a secondary light source so the light output is also smaller than the main light. Most of the time, the secondary light is set to about half the intensity of the main light when placed at the same distance. Therefore, you need to move the fill light a certain distance away. This helps you ensure that the light intensity limit for the lamp is sufficient.
1.3 Back light
Among the three ways to set up lighting in the studio, back light has the effect of clarifying the area around the object that needs to be lit. That's why the object in the photo or video becomes more prominent. Besides, edge lighting also has a great advantage in easily separating the character from the background effectively.
Back light has the effect of clarifying the periphery of the object that needs lighting
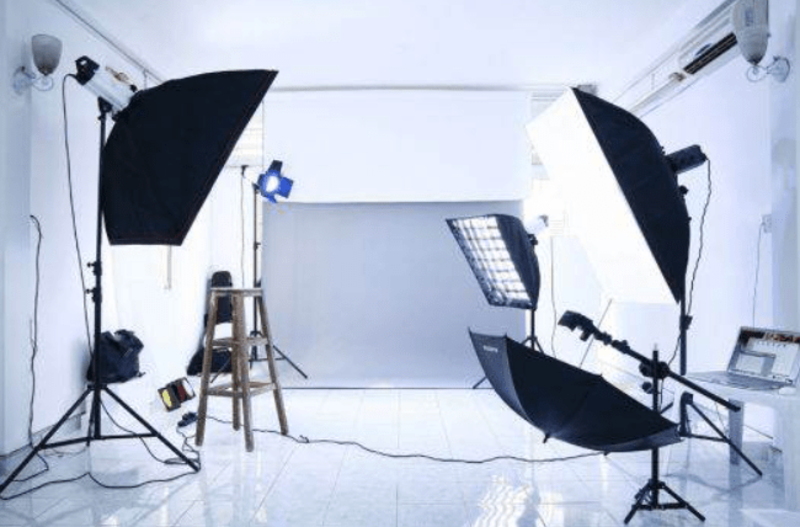
2. How to set up lighting in the studio
As we know, light greatly affects the quality of photography. To have a beautiful and professional photo, setting up the lighting in the studio is very important. Nowadays, there are many different ways to set up lighting in the studio. Depending on the needs and purposes of use, everyone can choose the appropriate lighting setup for video recording.
2.1 Paramount lighting
Paramount lighting is a traditional way to set up lightning in the studio. In particular, the main light source is often placed above the corner of the subject. This method is mainly used for women. Because of this, it helps emphasize the cheekbones and highlight the skin for the clearest image.
Paramount lighting is a traditional way to set up lightning in the studio
However, in some cases when the shadows from the Paramount lighting effect are too harsh. You can also use a reflector, then place it right under the subject's chin to achieve softer shadows.
2.2 Loop lighting
Loop lighting is a set up lightning in the studio that placed about 45 degrees away from the photo model, so that the shadow of the nose is shifted to one side of the face. Although this type of setup directs the light slightly to one side, it brings a special attraction to the viewer. Additionally, if you prefer softer shadows, add a reflector or place a second light opposite your subject to create additional lighting.
Loop lighting is a method of using light at a 45-degree angle to attract viewers
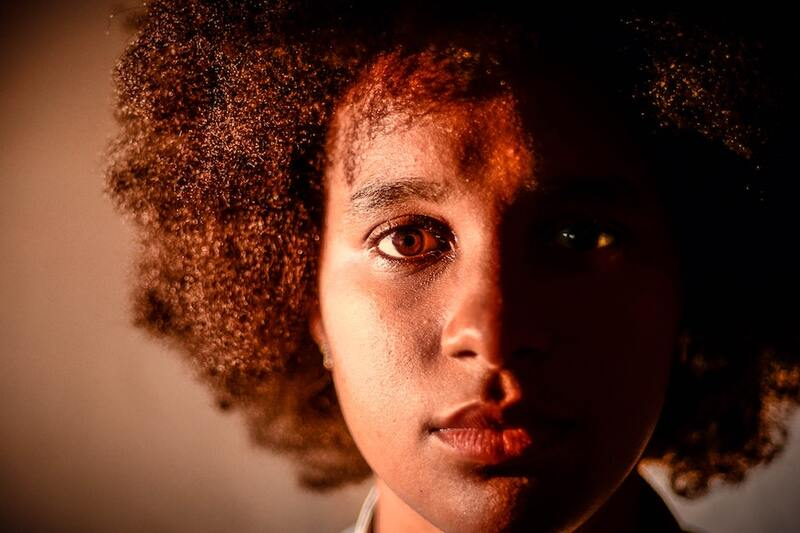
2.3 Split lighting
This is one of the special ways to set up lightning in studio. Because half of the subject's face is illuminated. Therefore, this way of taking photos is very suitable for those who have big faces or are overweight. Specifically, you place the main light right next to the photo sample at a 90 degree angle. To show your subject in more detail, you should place the far light completely in darkness or you can use fill light.
Split lighting is a unique lighting technique
>>>> WATCH NOW: What is a keyframe? 5 keyframe applications you should know
2.4 Rembrandt lighting
Rembrandt lighting is used quite commonly in portrait photography in studios. You can light this using a black plate or two different lights right behind the subject being photographed. This is one of the techniques that helps you clearly see the contrast between light and dark parts of the image's object.
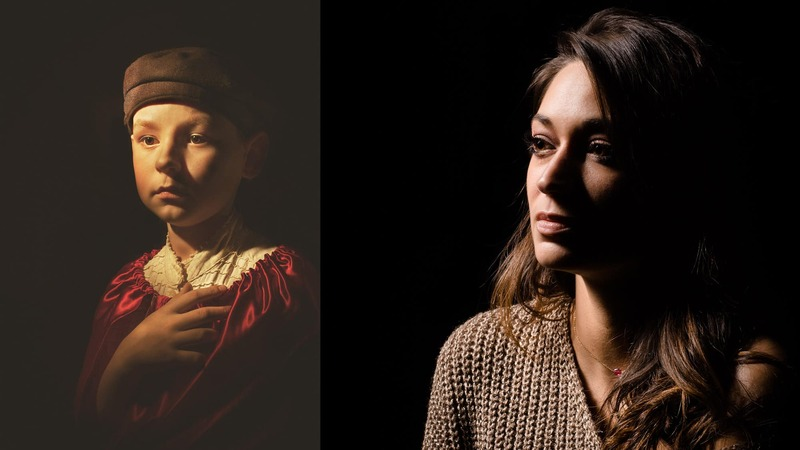
Rembrandt lighting is used quite commonly in portrait photography
One of the highlights of this way of lighting is to create a triangular highlight right above the cheekbones. This helps the image effectively increase viewer attention. Besides, you need to note that you must ensure that the eyes on the dark side of the face always catch the light. Because if you don't look at the photo, it won't have a soul.
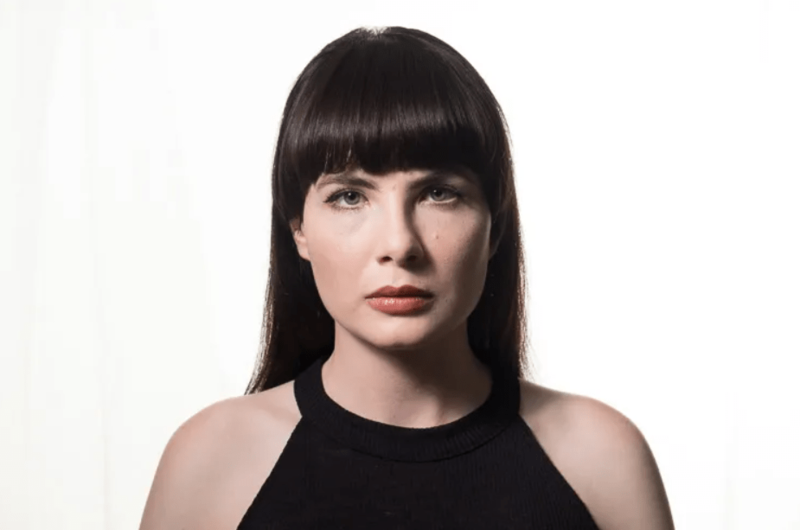
2.5 Side lighting
One of the unique types of set up lightning in studio is side lighting. It means separating the subject's face into two different parts. That is, the main light source will illuminate half of the image sample's face. While the other half of the face will not be illuminated. Therefore, this video lighting setup helps increase the impression of portrait photos. From there, it brings a more artistic and mysterious feeling.
Side lighting means separating the subject's face into two different parts
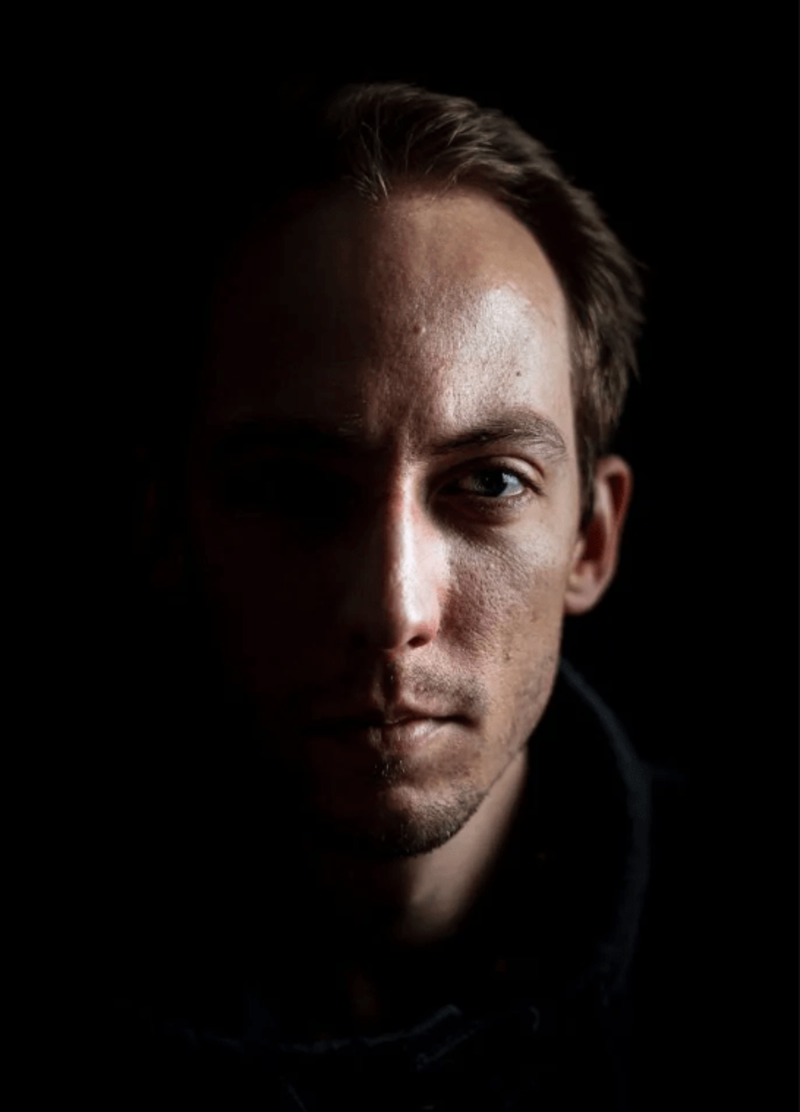
2.6 Short lighting
Contrary to previous ways to set up lightning in the studio. Short lighting tends to darken part of the subject's face. The dark part of the photo model's face predominates. This makes the portrait clearly express the right mood. However, this method also has the disadvantage of not being able to hide skin imperfections. That's why this type of highlighting is more suitable for men than women.
Short lighting tends to darken part of the subject's face
2.7 Broad lighting
Broad lighting's studio is a set up lightning in the studio method tends to bring a brighter, more comfortable feeling to the viewer. However, one point to pay attention to when placing using this method is the amount of light spread. This makes the model's face appear much larger. That's why it's very suitable for models with thin faces.
Broad lighting's method of setting up studio lighting tends to bring a brighter, more comfortable feeling
>>>> DON'T MISS OUT: What is frame rate? Meaning and parameters of frame rate
2.8 Fill lighting
Fill lighting technique is a method of using a 2-way light source placed opposite the main light. This method helps prevent shadows and balances the exposure of the image.
However. To use fill lighting techniques effectively, you need to understand more about lighting ratios. The greater the illumination ratio of the lamp, the more obvious the contrast between dark and light. In addition, to increase the appeal of the photo, you should use a reflector instead of an auxiliary light to soften the dark part of the photo.
Fill lighting technique is a method of using a 2-way light source placed opposite the main light
3. 3 Techniques for setting up lighting in the studio
To be able to create impressive and attractive photos, setting up lighting in the studio is essential. Below are some studio lighting setup techniques that you need to keep in mind.
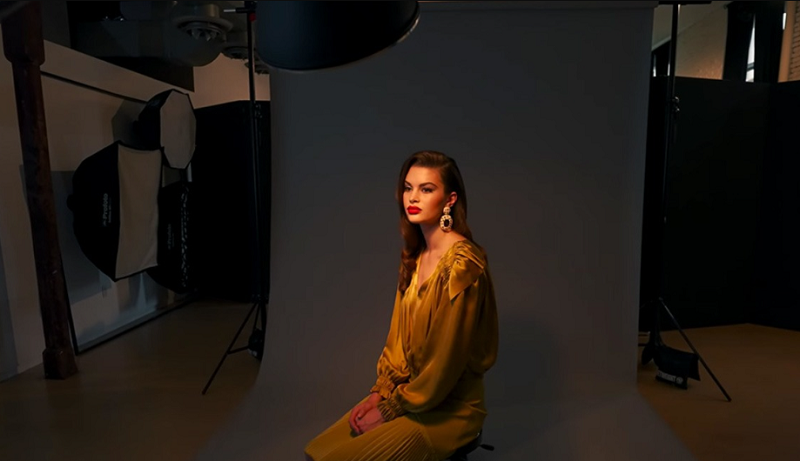
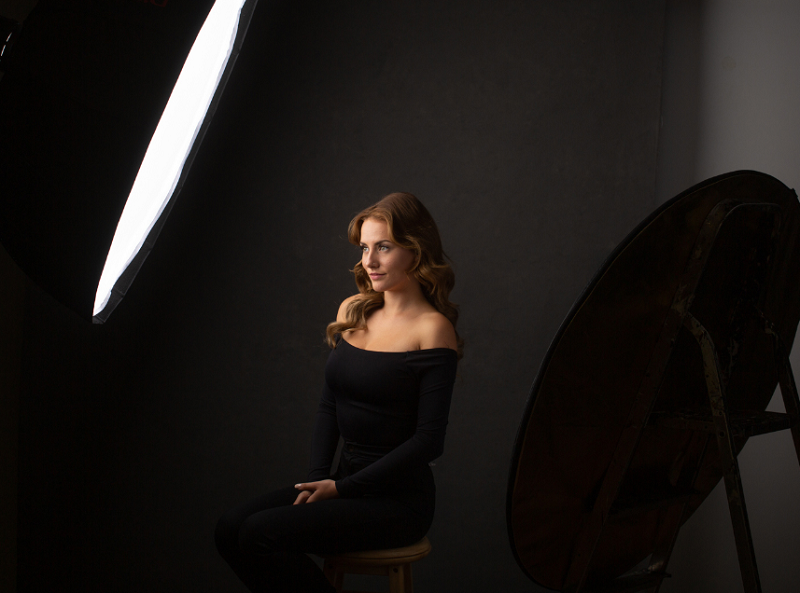
3.1 Setup with 1 light
To create an impressive and attractive portrait photo, lighting is one of the important factors. However, for portrait photos, just setting up 1 light is enough. The installation method is also very simple. The photo model is placed a few steps away from the background. At this time, the light source is an octagonal softbox about 95cm in size and placed at a position of 45 degrees from the subject.
Setup with 1 light suitable for portrait photography
In particular, the octagonal softbox has a fairly wide light source. It can help illuminate clearly without having to use a reflector. This allows the photo model to be turned or oriented anywhere to be illuminated. In addition, to get soft light quality, you should place it as close to the model as possible.
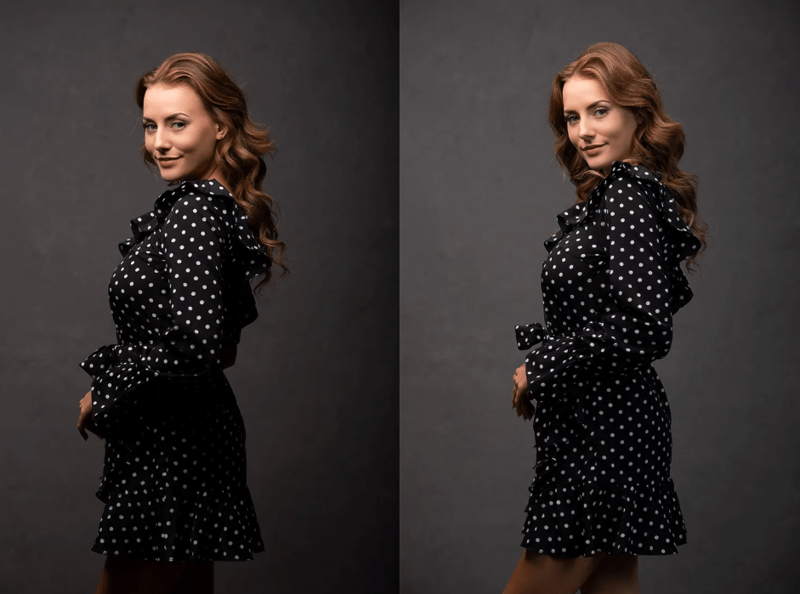
3.2 Setup with 2 lights
The dual-light portrait technique helps deliver beautiful and consistent image results. In fact, portrait photographers apply this method. The more appropriate the lighting setup in the studio, the more beautiful the studio portrait will be.
Portrait photography technique with 2 lights helps bring beautiful image results
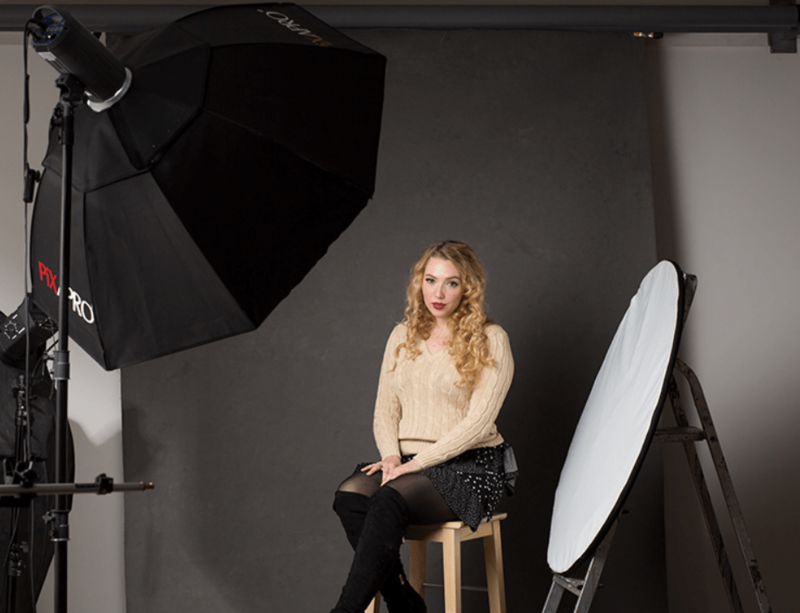
3.3 Setup with 3 lights
The technique of set up lighting in the studio with 3 lights is a very special way to set portrait lighting. Because this helps you create any mood you want for the photo. With only 3 different light sources shining on 1 subject, it makes the photo much more attractive. Not only that, but this way of shooting makes the photo have much more depth.
The studio lighting setup technique with 3 lights is a special way to set portrait lighting
Above are some suggestions for you on how to set up lighting in the studio that we have compiled. Viewfinder Media hopes that readers can give you useful knowledge. If you have any questions, you can contact us immediately for a free consultation.
>>>> RELATED TOPICS:
Founded in 2008, we specialize in producing TV shows, ad videos, TV commercials, and other types of content. We have continuously improved our services to become one of the top production houses in Vietnam. We offer our clients the perfect service and deliver the most effective creativity.